How to make a DIY Trivet My Love 2 Create
Follow these DIY steps to make wood trivets that are equal parts beauty and function, and a lovely addition to any table. These trivets are fun and practical, and make a great wedding present! Have fun with them! Holiday Video. How To Build a Candlelight Wood Christmas Tree December 01, 2020 By Kirsten Dunn. Simple is the theme for this year.

Turn a Tile into a Trivet in One Step Dans le Lakehouse
Step 3 - Paint your next color on and let dry. Step 4 - Remove the tape and let that layer dry for an hour or so until completely sealed to the touch. Step 5 - And then, re-tape and move on to your next layer. You can create a single color block tip, one or two overlapping colors, or even create stripes one by one across the whole surface.

How To Make DIY Wood Trivets Wooden Trivets Dunn DIY
Just fold the fat quarter in half, with the right sides together. Then cut a piece of cotton batting and Insul-Bright the same size as the folded fat quarter or 11 by 18 inches. Sew them together, leaving 3 inches for turning. Turn right side out. Press the raw edges under, pin, and sew a quarter inch top seam around all edges.
How to make a DIY Trivet My Love 2 Create
Tape. Hot glue gun and glue sticks. Download the leaf image ( download) and insert into a word processing program. Enlarge to approximately 5" wide and then print. Enlarge that same image again to approximately 6.5" wide and print a second time. This will provide your two templates for the layered cork trivet.
8 DIY Trivets You Can Make at Home Martha Stewart
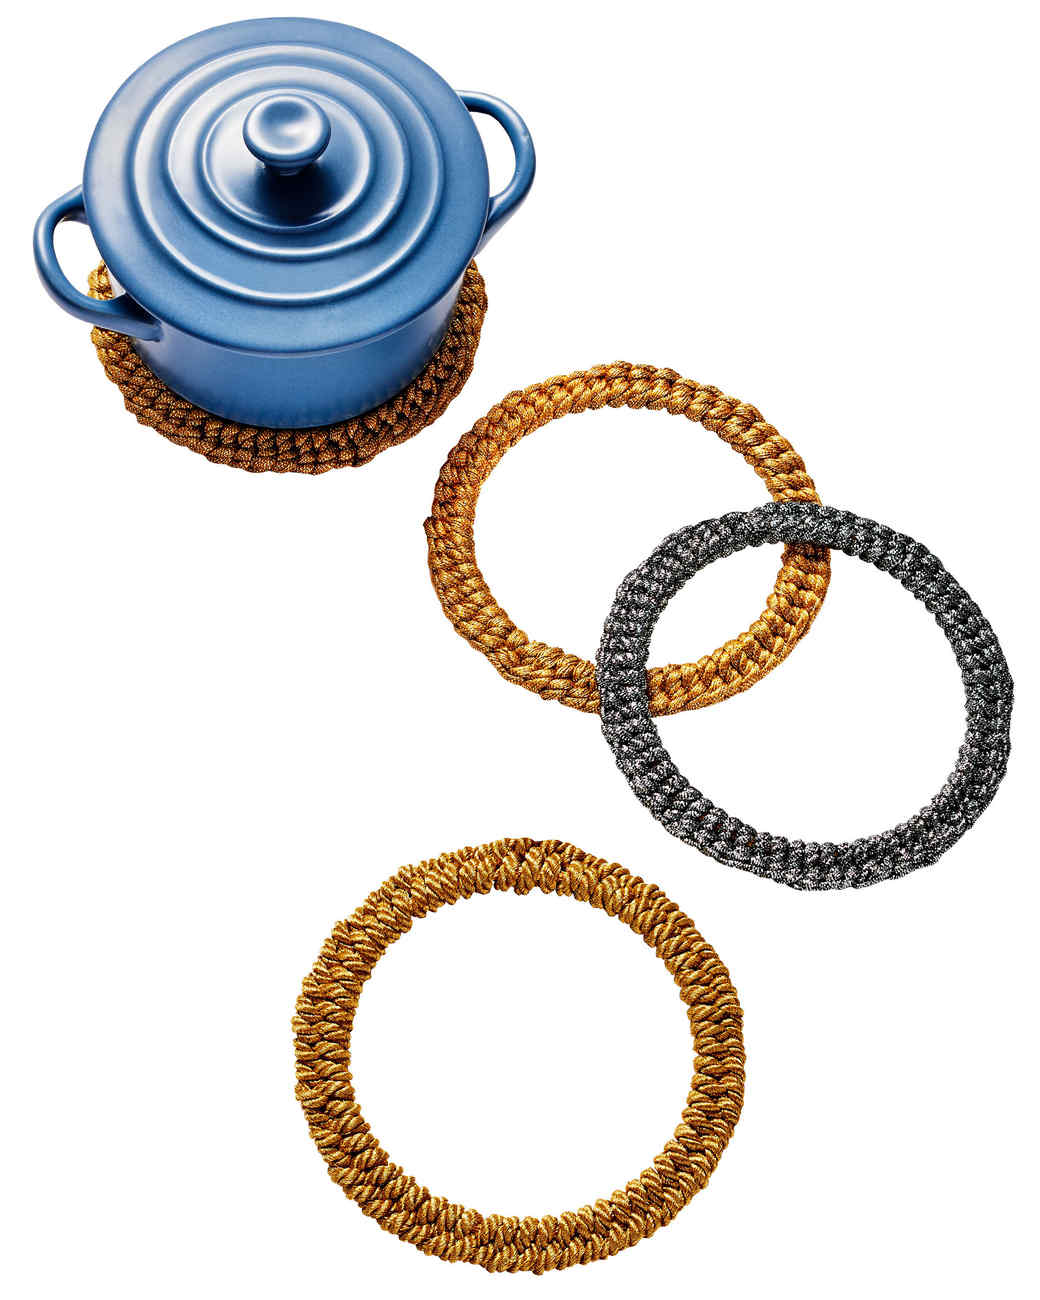
1. Felt Ball Trivets. Don't be intimidated by this trivet from crafter Lia Griffith. You do need a needle and heavy-duty thread to pull it off, but you definitely don't have to have real sewing skills. Lia provides a full play-by-play to guide your way. Get the sewing directions: DIY Felt Ball Trivet at Lia Griffith.

Tile trivet by DLC woodworking community
Looking for ideas to make your own homemade trivet or hot pad for your home's kitchen? Use this step by step tutorial to learn how to turn a cotton clothesli.
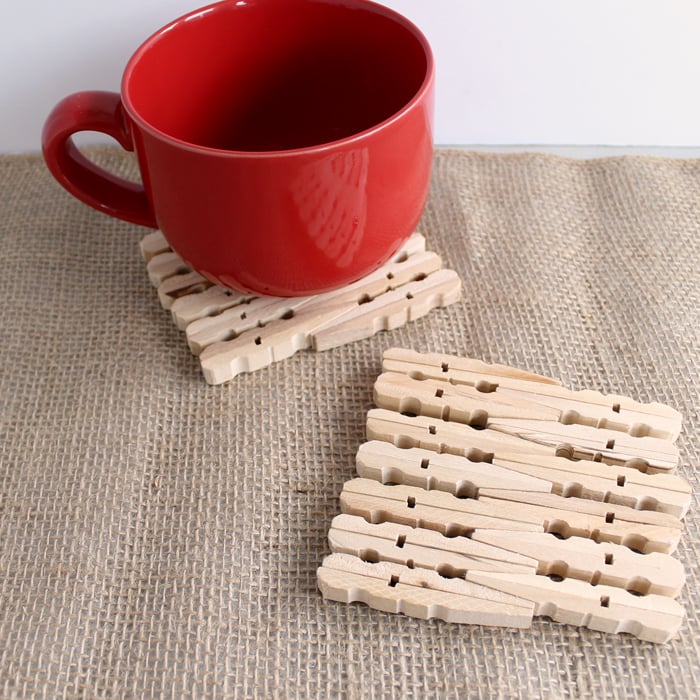
DIY Clothespin Trivets Angie Holden The Country Chic Cottage
Stitch the trivet until you reach the desired size. Tightly sew the end of the twine onto the trivet and finish with a few securing stitches. And you're done! Fabric twine trivets are a fun and easy DIY project that not only adds a decorative touch to your kitchen but also serves as a practical and useful item.
7 DIY to try trivets Ohoh Blog
Step 2: Pour your Resin. At this point we can start to pour our resin onto our actual trivet… starting with the basic colors (the white, blush and clear with rose gold flakes). Once you're happy with the base you can start to add the darker colors (like the copper and rose gold glitter) in thinner sections across the seams of the larger areas.

8 DIY Trivets You Can Make at Home Martha Stewart
Wrap at least 5-6-inches. Take about 2-inches (more if you want a longer and narrower trivet) and fold back. Stitch from the fold down. Then begin wrapping the rope with the fabric and turning it counter clockwise beginning to form an oval. Again, the first stitching and wrap are the hardest part.

8 DIY Trivets You Can Make at Home Martha Stewart
Then peel the backing off and stick it down. Then peel the top clear protective off - it's a little tricky to grab, but they provide handy stickers to grab the corners - worked perfectly! Then just lay down your tiles and press them into place. It doesn't get easier than that. We had tiles leftover from our Kitchen Remodel, so these.

7 DIY to try trivets
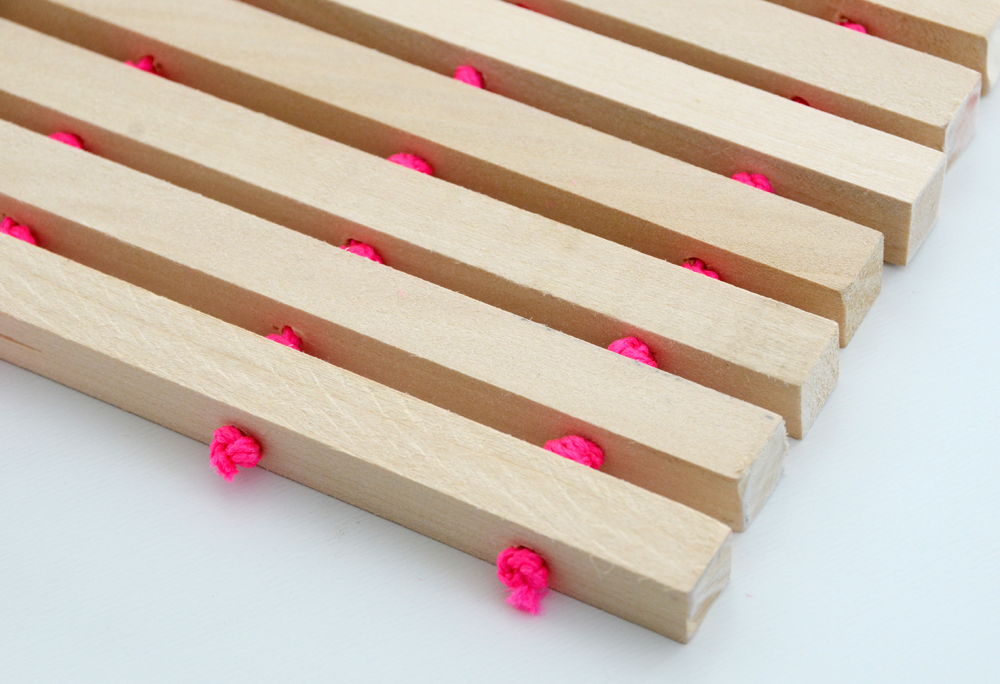
4. Roller Coasters: You can customize to your heart's content with these colorful crocheted patterns. Make big ones for potholders or a collection of smaller one for a set of coasters. (via Haak Maar Raak) 5. Modern Beaded Wood Trivet: This simple DIY trivet is perfect for those tea - and coffee-brewing winter months, and they make great.

16 DIY Trivets and Potholders Brit + Co Handmade Home Decor, Diy
This delightful collection of DIY trivets not only provides protection to surfaces but also adds a chic touch to your home decor. Whether your style leans towards traditional or modern designs, these crafty techniques will satisfy your creative cravings, all while staying within your budget and skill level.

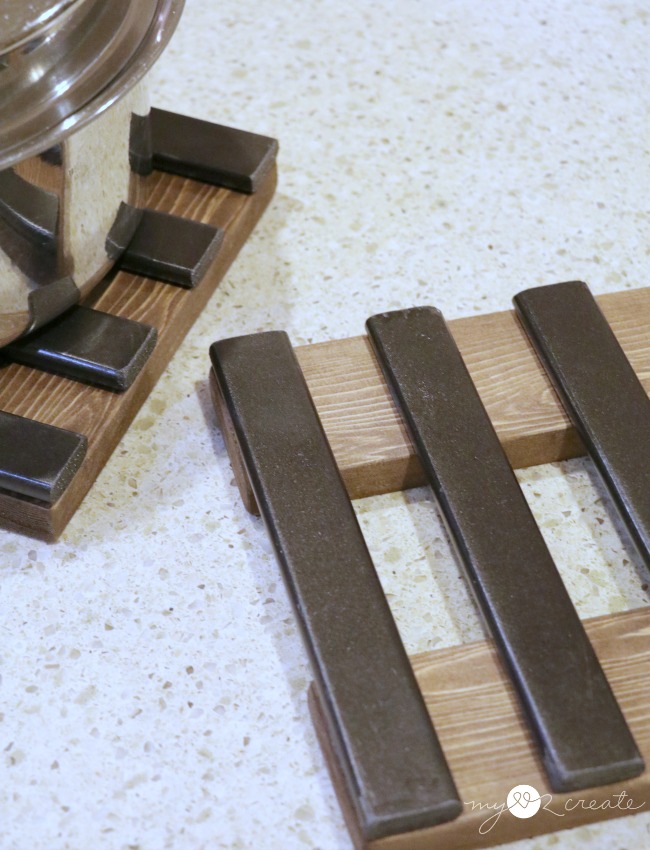
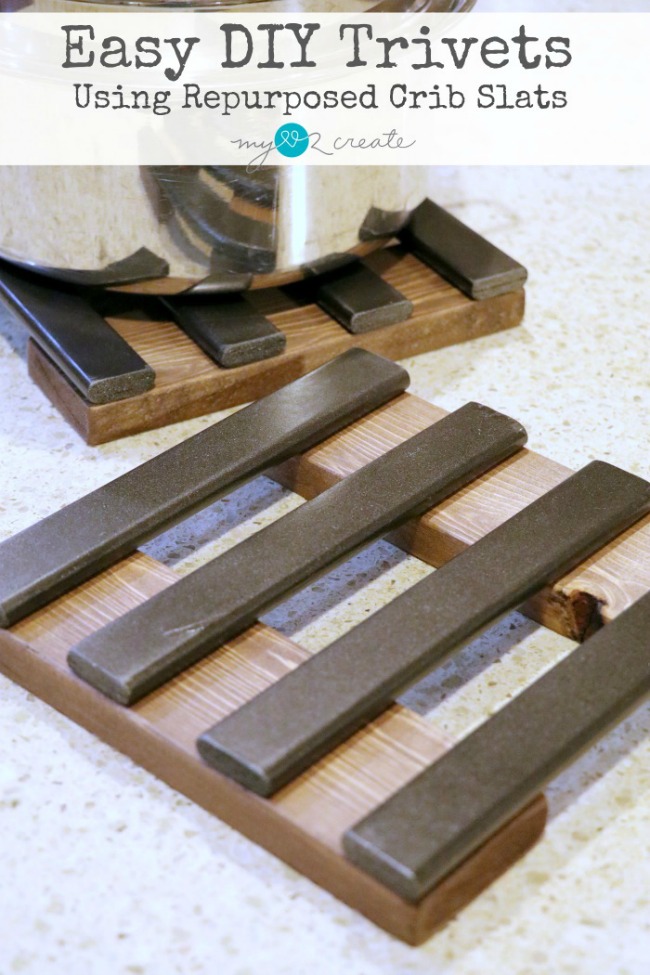
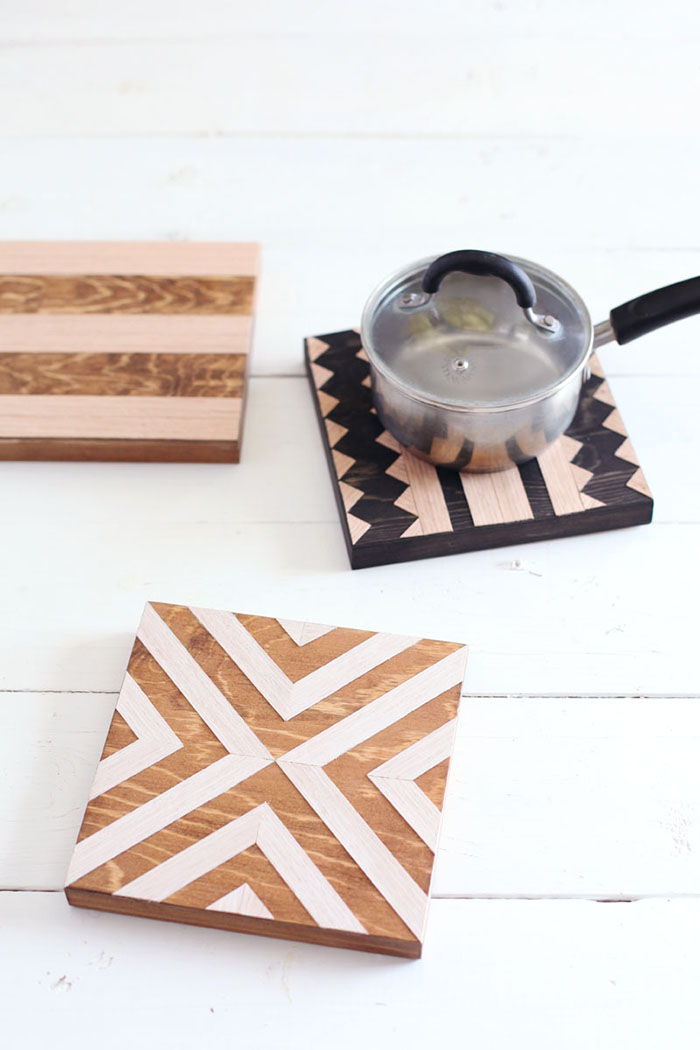
DIY Wooden Trivet Set A Beautiful Mess
To make two 8'' square trivets you will need: 4- 8" 1x3 boards. 8- 8'' old crib slats (that is what I used, but you could substitute another similar size wood approx ¼'' thick and 1'' wide) Dap Rapid Fuse (super awesomely amazing super glue) Finishing materials of your choice. miter saw to cut wood and sandpaper.

How To Make DIY Wood Trivets Wooden Trivets Dunn DIY
How to make a DIY trivet from wooden beads: 1. Cut your twine to size. Overestimate and make it larger than you think you need it by a foot. 2. Thread your needle (yes, that's the hardest part of making this DIY trivet.) 3. Thread your first bead and double knot it in place. Trim your twine.
Easy DIY Wooden Trivet
DIY Trivet Instructions: Place several layers of newspaper or old phone book paper on top of your first piece of craft felt. The paper is your heat protection padding. **An alternative for this DIY trivet project would be to use an old T-shirt, old fabric, old towel, or rag cut to size for the inside so you can hand wash it. Hot glue or sew the.

How To Make DIY Wood Trivets Wooden Trivets Dunn DIY
Pull the loops off your fingers and pull the end tight. :: To assemble the trivet, bring the 8" tail at the beginning of the finger knitting strand through one of the strands of the fifth row of the finger knitting. Pull so the finger knit strand begins to coil against itself. :: Coil the piece further (keeping the strand flat and not twisted.
